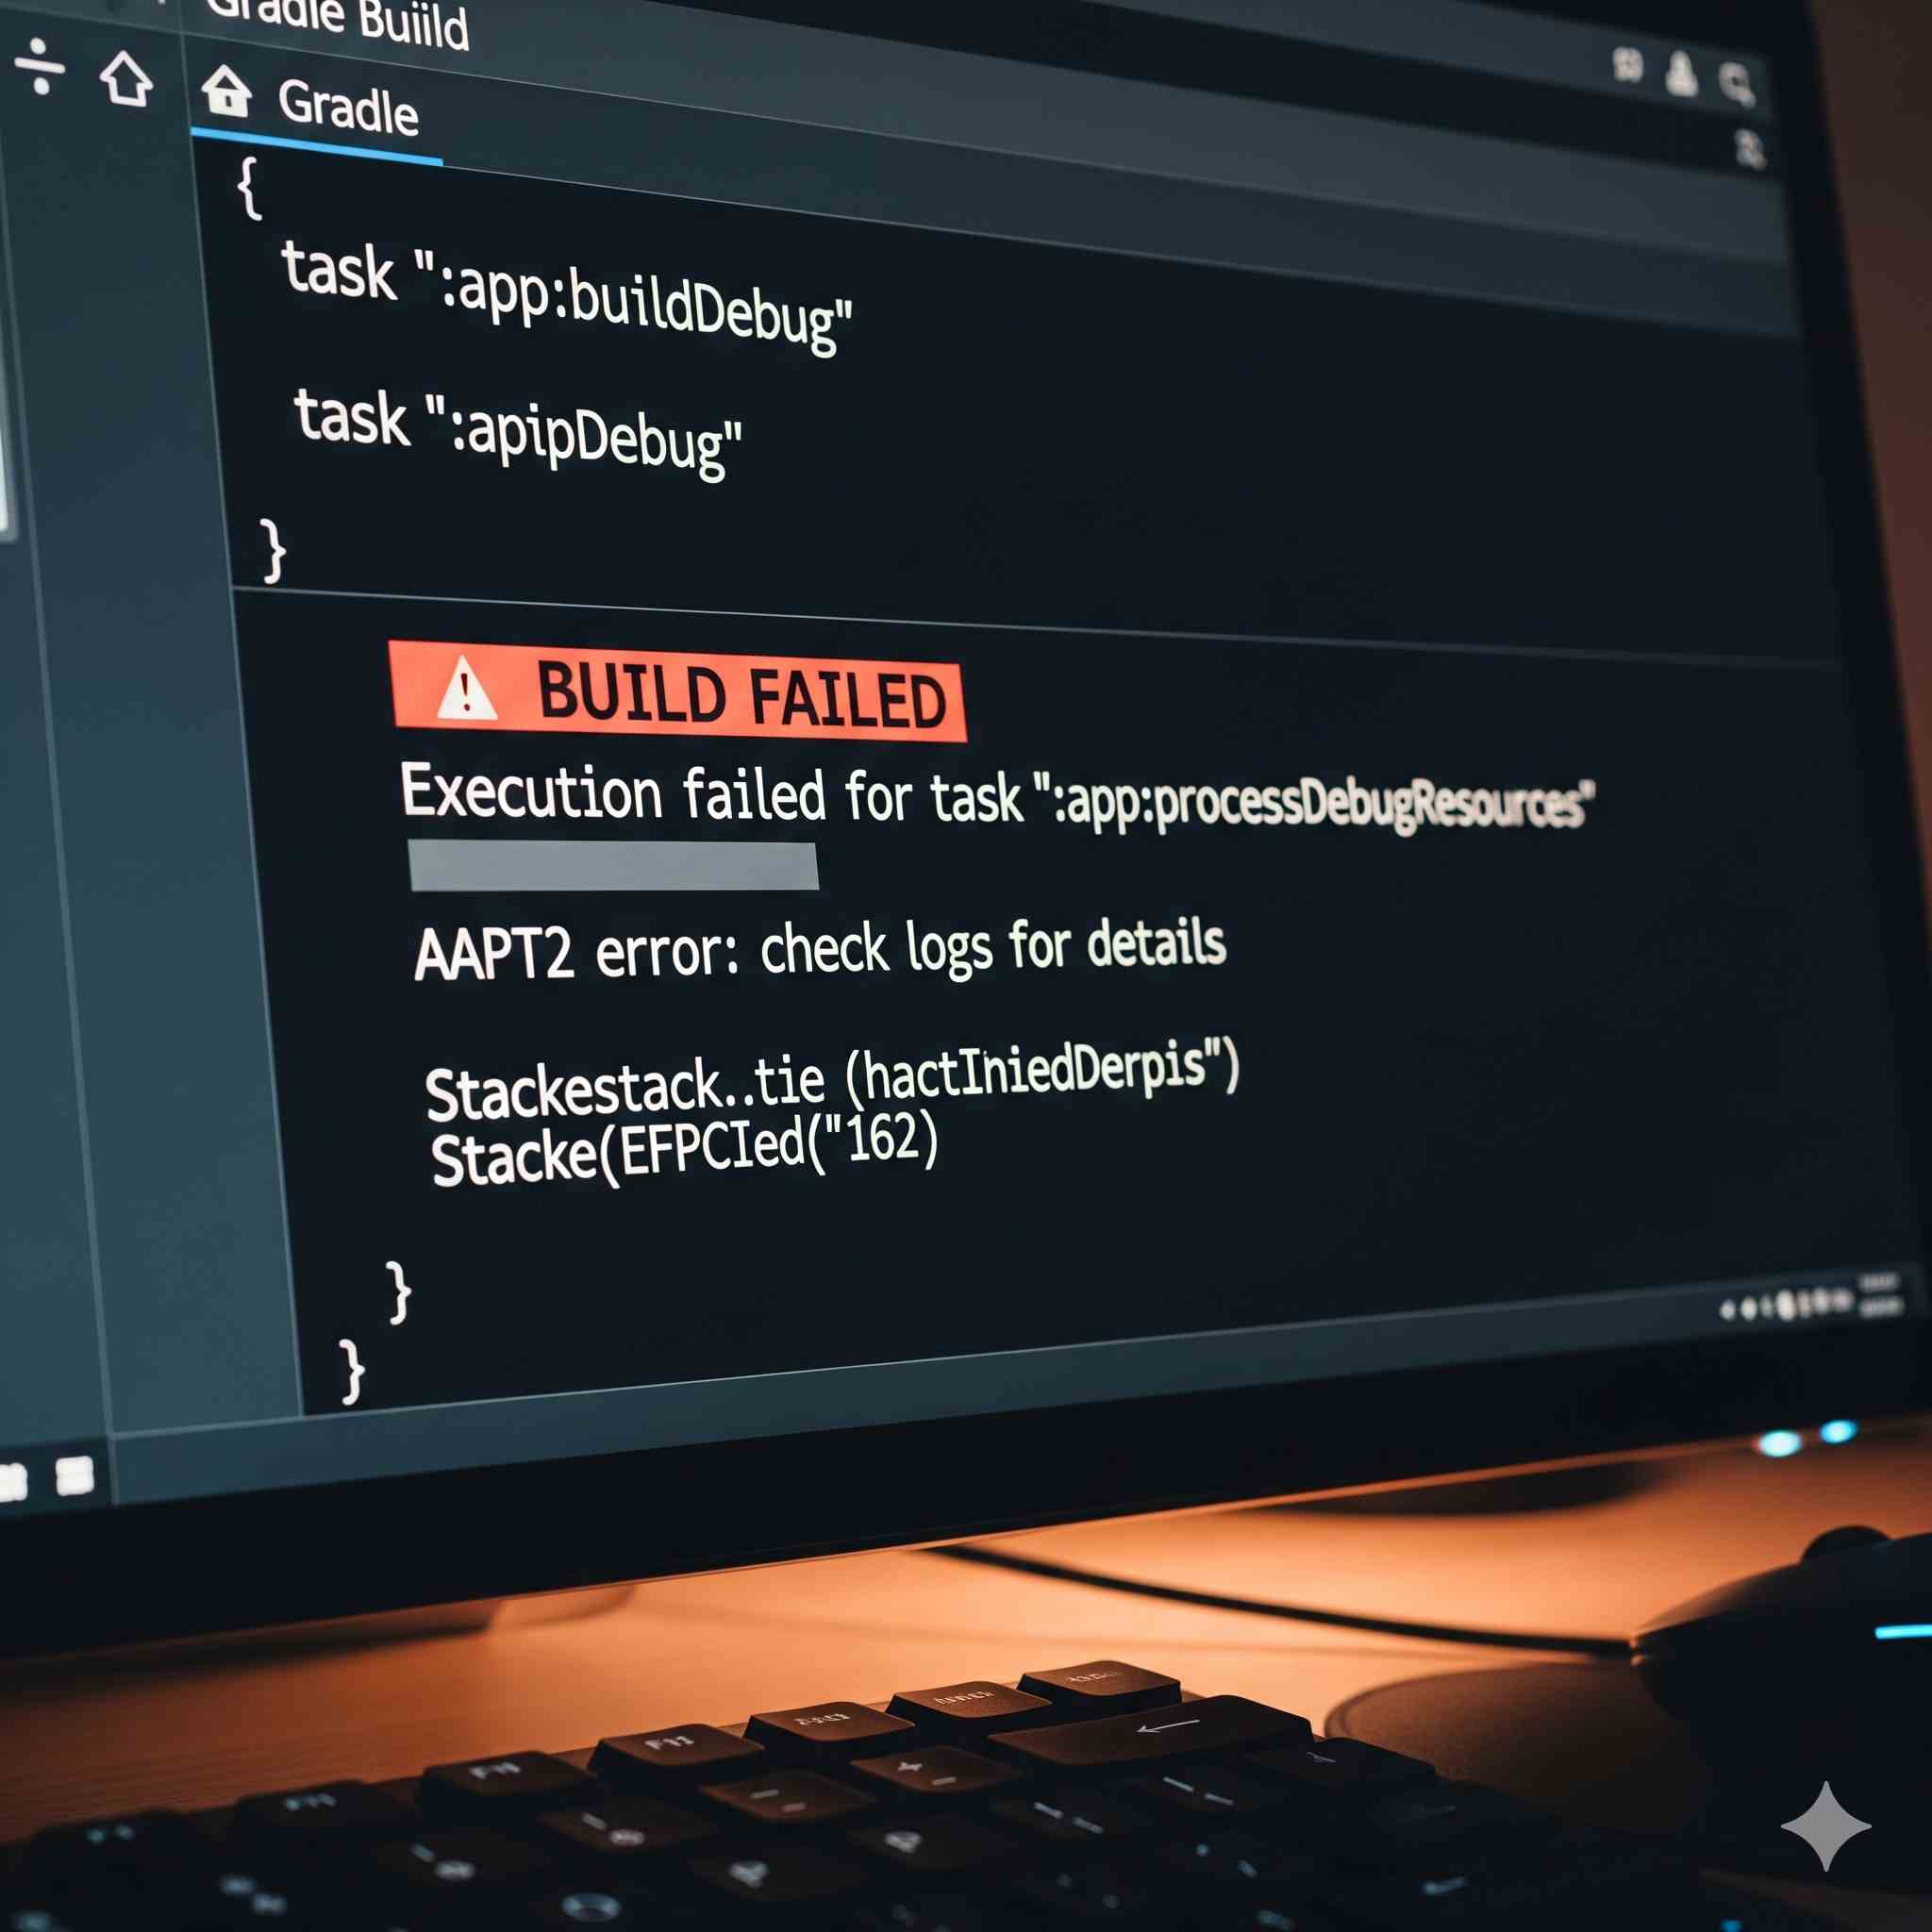
There’s a unique, shared experience among Android and Java developers: the sinking feeling that arrives when, after a seemingly innocent change, you run gradle build only to be greeted by a wall of red, cryptic text. A Gradle build error can feel like a sudden roadblock on your productive journey, a confusing message from a machine that just won't cooperate.
Gradle is incredibly powerful. Its flexibility and performance have made it the build tool of choice for millions of projects. But with that power comes complexity. Understanding Gradle isn't just about knowing the syntax; it's about comprehending its lifecycle, its dependency management, and its configuration model. This article is your guide to moving from frustration to mastery. We'll deconstruct the most common categories of Gradle errors, explore their root causes, and provide practical, step-by-step solutions to get you back to coding.
Part 1: The Foundation - Understanding Gradle's Anatomy
Before you can fix an error, you need to know what you're looking at. A typical Gradle project is defined by a few key files:
-
settings.gradle(.kts): The entry point. It defines the project's name and, crucially, which subprojects (modules) are included in the build. -
Root-level
build.gradle(.kts): This file typically contains configuration common to all modules, like top-level buildscript dependencies and repositories for the entire project. -
Module-level
build.gradle(.kts): This is where the magic happens for each individual module (app, library, etc.). It defines plugins, Android-specific settings (likecompileSdk), dependencies, and other build logic. -
gradle.properties: A file for configuring project-wide properties and environment variables, such as Java compatibility version or AndroidX settings.
Gradle operates in phases. When you run a command like ./gradlew assembleDebug, it goes through:
-
Initialization: Gradle reads
settings.gradleto figure out the project structure. -
Configuration: It executes all build scripts in the project. This phase doesn't run your tasks, but it configures them, defining their inputs, outputs, and behavior.
-
Execution: It runs the tasks you requested and their dependencies in the correct order.
Many errors occur in the Configuration phase, meaning your scripts themselves have a problem, not the code you're trying to compile.
Part 2: Decoding and Solving Common Gradle Error Categories
Let's break down the most frequent types of errors you'll encounter.
Category 1: Dependency and Repository Issues
This is arguably the most common source of build pain. The error messages often contain phrases like "Could not find", "Cannot resolve", or "Failed to resolve".
Common Causes:
-
Missing or Incorrect Repository: The dependency exists on Maven Central, but your project is only configured to look in JCenter (which is now deprecated and read-only) or a private company repository.
-
Typo in Dependency Coordinates: A simple misspelling of the group, name, or version of a library.
-
Version Conflict: Two different libraries (or different versions of the same library) depend on the same third-party library but require conflicting versions. Gradle doesn't know which one to pick.
-
Network or Cache Issues: Your internet connection is flaky, or Gradle's local cache has become corrupted.
Solutions:
-
Check Your Repositories: Your module-level
build.gradlefile must have therepositoriesblock inside thedependencyResolutionManagementblock insettings.gradle(for newer Gradle versions) or inside theallprojectsblock in the rootbuild.gradle. Ensure it includesgoogle(),mavenCentral(), and any other specific repositories your dependencies require.// settings.gradle.kts (modern way) dependencyResolutionManagement { repositoriesMode.set(RepositoriesMode.FAIL_ON_PROJECT_REPOS) repositories { google() mavenCentral() // jcenter() // Avoid using this } }
-
Verify the Dependency: Go to search.maven.org and double-check the exact group, name, and version string for the library you're trying to add. Copy-paste it directly into your
build.gradlefile. -
Debug Version Conflicts: Run
./gradlew :app:dependencies(replace:appwith your module name) in the terminal. This prints a massive tree showing all dependencies and how they are resolved. Look for arrows (->) or asterisks ((*)) that indicate which version Gradle ultimately selected. To force a version, you can use:dependencies { implementation("com.example:library:1.2.3") { force = true } // OR, to force a version of a transitive dependency constraints { implementation("org.json:json:20220320") { because "To avoid security vulnerabilities in older versions" } } }
-
The Nuclear Option: Clean the Cache: If you suspect a corrupted cache, run
./gradlew clean build --refresh-dependencies. The--refresh-dependenciesflag forces Gradle to hit the remote repositories and re-download everything, ignoring its existing cache.
Category 2: Plugin Application Errors
These errors happen when Gradle can't find or apply a plugin you've requested. Messages often include "Plugin with id '...' not found" or "Failed to apply plugin".
Common Causes:
-
Missing
buildscriptBlock: For core Gradle plugins (likejava) or plugins from the Gradle Plugin Portal, you can often use thepluginsblock. For others, especially older Android plugins, they must be defined in a top-levelbuildscriptblock. -
Version Mismatch: The version of the Android Gradle Plugin (AGP) you're using might be incompatible with your project's Gradle version.
Solutions:
-
Know Where to Declare Plugins:
-
Core/Portal Plugins: Use the
pluginsblock. This is the modern, preferred way.// Module-level build.gradle.kts plugins { id("com.android.application") // From the portal kotlin("android") // The kotlin plugin }
-
Custom/Other Plugins: If the plugin is not in the portal or is an older version, you must declare it in the root
buildscriptblock.// Top-level build.gradle.kts buildscript { repositories { google() mavenCentral() } dependencies { classpath("com.android.tools.build:gradle:7.2.1") // AGP classpath("org.jetbrains.kotlin:kotlin-gradle-plugin:1.7.0") } }
-
-
Maintain Version Compatibility: This is critical. The Android Developer site provides a compatibility table for AGP and Gradle versions. Ensure your
gradle-wrapper.propertiesfile (which defines the Gradle version) and your AGPclasspathversion are compatible.
Category 3: Configuration and Syntax Errors
These are pure programming errors within your Gradle build scripts themselves. With the shift to Kotlin DSL (*.gradle.kts), the scripts are now type-checked, leading to more explicit errors, but they can still be confusing.
Common Causes:
-
Typographical Errors: Misspelling a configuration name (e.g.,
implementationvs.implement). -
Incorrect Closure/Block Syntax: Misplacing curly braces
{}in the Groovy DSL or parentheses in the Kotlin DSL. -
Using Undefined Variables: Trying to use a variable that hasn't been defined in
extorgradle.properties.
Solutions:
-
Read the Error Message Carefully: The Kotlin DSL, in particular, gives excellent error messages. If it says "Unresolved reference: compileSdk", it means it literally cannot find that property. You might be trying to set it in the wrong block (e.g., outside of
android {}). -
Leverage IDE Support: Android Studio and IntelliJ IDEA have fantastic support for Gradle files. They offer auto-completion, syntax highlighting, and documentation on hover. If your script is full of red underlines, the IDE is your first and best tool for diagnosing the problem.
-
Check for Basic Syntax:
-
Groovy: Ensure commas between dependencies and proper closure structure.
-
Kotlin: Remember it's real Kotlin! You need parentheses for function calls (
id("...")) and correct string types.
-
Category 4: Memory and Performance Issues (The Infamous OOM)
Your build doesn't fail with a configuration error; it just crashes your machine or dies with an OutOfMemoryError.
Common Causes:
-
The Gradle Daemon (a long-lived process that speeds up builds) has a default heap size that's too small for large projects.
-
The Android Dex compiler (D8/R8) also needs sufficient memory.
Solutions:
-
Increase Gradle's Heap Size: Create or modify the
gradle.propertiesfile in your project root or in your~/.gradle/directory (for global settings).# Increase Gradle Daemon memory org.gradle.jvmargs=-Xmx4096m -XX:MaxMetaspaceSize=1024m -XX:+HeapDumpOnOutOfMemoryError -Dfile.encoding=UTF-8 # Configure Dex-in-process and increase D8 memory android.jetifier.parallel=true android.useAndroidX=true android.enableD8.desugaring=true
The
-Xmx4096margument gives the Daemon 4GB of RAM. Adjust this based on your system's capabilities. -
Enable Configuration on Demand: This is a performance feature that can help for multi-module projects. Add this to your
gradle.properties:org.gradle.configureondemand=true
Part 3: General Troubleshooting Methodology: Your First-Aid Kit
When the red text appears, don't panic. Follow this systematic approach:
-
Read the Error Message (Top to Bottom): The most relevant information is often at the top of the stack trace, not the bottom. Look for "Caused by:" lines.
-
Use the
--stacktraceand--infoFlags: The default error output is abbreviated. Re-run your command with more detail:./gradlew assembleDebug --stacktrace ./gradlew assembleDebug --info
This will often reveal the specific file and line number where the configuration script is failing.
-
The Clean-Rebuild Cycle: Your first instinct should be to run:
./gradlew clean
./gradlew assembleDebug
This clears the
builddirectories and forces a full rebuild, which solves a surprising number of transient issues. -
Invalidate Caches and Restart: In Android Studio, go to File > Invalidate Caches / Restart.... This clears the IDE's internal caches, which can sometimes get out of sync with the actual project state. It's a classic fix for a reason.
-
Check the Official Sources: If the error mentions a specific plugin (like AGP), search for the error on the official Android issue tracker or Stack Overflow. It's likely not a new problem.
Conclusion: From Adversary to Ally
Gradle build errors can be intimidating, but they are rarely magical. They are logical outcomes of a misconfigured script, a missing dependency, or a version conflict. By understanding the structure of your Gradle project, learning to categorize the errors you see, and applying a methodical troubleshooting process, you can transform these frustrating roadblocks into manageable puzzles.
The goal isn't to never see a build error again—that's an impossible standard. The goal is to build the confidence and skill to diagnose and fix any error that comes your way quickly, turning Gradle from a mysterious beast into a powerful and reliable ally in your development workflow.