
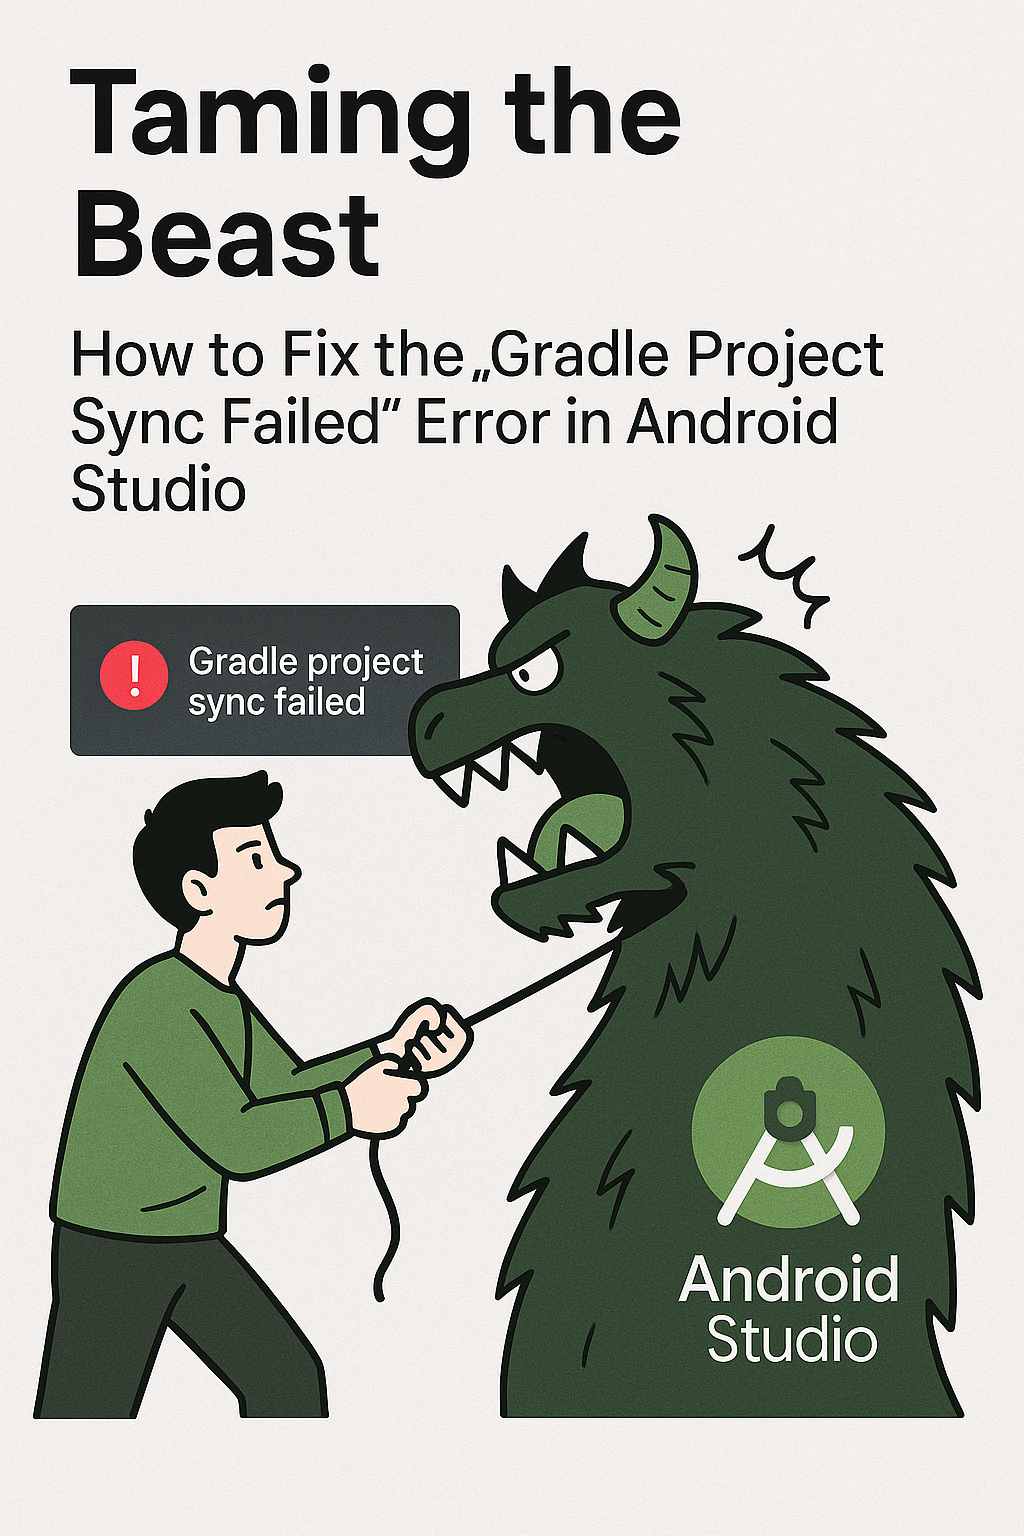
That sinking feeling. You're ready to code, you open Android Studio, and instead of your project, you're greeted by a glaring red error: "Gradle project sync failed. Please fix your project and try again." It's one of the most common and frustrating hurdles for Android developers, from beginners to experts.
But don't worry, you're not alone. This error is Gradle's (Android Studio's build system) way of saying, "I'm confused and can't understand your project setup." The good news is that it's almost always fixable. This guide will walk you through a step-by-step troubleshooting process to get you back on track.
Understanding the Why
Before we dive into the fixes, it helps to know what's happening. Gradle is responsible for managing your project's dependencies (external libraries), compiling your code, and packaging it into an APK. A "sync" is when Android Studio checks your project's configuration files and downloads everything it needs. The sync fails when Gradle encounters an inconsistency, like a missing library, a version conflict, or a network issue.
Your Step-by-Step Troubleshooting Plan
Follow these steps in order. The first few are quick and solve the majority of problems.
1. The Classic IT Solution: Restart and Rebuild
Often, the simplest solutions work. Start by cleaning up and restarting.
-
Clean and Rebuild: From the top menu, select Build > Clean Project, wait for it to finish, and then select Build > Rebuild Project.
-
Invalidate Caches and Restart: This is the nuclear option for many Android Studio glitches. Go to File > Invalidate Caches / Restart... and click "Invalidate and Restart". This clears Android Studio's internal cache and restarts the IDE. It solves a surprising number of mysterious issues.
2. Let Gradle Fix Itself (The Offline Workaround)
Sometimes, Android Studio's cached Gradle files get corrupted. A powerful trick is to let Gradle re-download what it needs.
-
Go to File > Settings (or Android Studio > Preferences on Mac).
-
Navigate to Build, Execution, Deployment > Gradle.
-
Find the option labeled Global Gradle settings and check the box for Offline work.
-
Click Apply.
-
Now, uncheck the Offline work box and click Apply again.
-
Finally, try syncing your project by clicking the "Sync Project with Gradle Files" button (the elephant icon in the toolbar).
This forces Gradle to ignore its local cache and check for everything anew, often clearing up corrupt data.
3. Check Your Internet Connection and Proxy
Gradle needs to download libraries from the internet. If you're behind a corporate firewall or proxy, this can fail silently.
-
Ensure you have a stable internet connection.
-
If you use a proxy, configure it correctly in Android Studio settings: File > Settings > Appearance & Behavior > System Settings > HTTP Proxy.
4. The Heart of the Matter: Review Your Gradle Files
This is where the real problem usually lies. Open these two critical files and look for errors. The error message in the "Build" output window at the bottom of Android Studio is your best clue here.
-
Project-level
build.gradle(build.gradle (Project: YourProjectName)):-
Check the
classpathlines for the Gradle plugin. Ensure the versions are compatible. A common mistake is using a plugin version that is too new for your version of Android Studio. -
Example: If you're using an older Android Studio version, a line like
classpath 'com.android.tools.build:gradle:8.3.0'might be too high. Try downgrading to a version recommended for your IDE.
-
-
App-level
build.gradle(build.gradle (Module: app)):-
compileSdkVersion,targetSdkVersion, andminSdkVersion: Ensure they are valid numbers. -
Dependencies: Check for typos in the
implementationorapilines. A single misplaced colon or incorrect version number will cause a sync to fail. -
Packaging Options: If you have duplicate file errors, you might need to add this block:
android {
    packagingOptions {
        exclude 'META-INF/*'
    }
}
-
5. The Gradle Wrapper Properties
Check the gradle/wrapper/gradle-wrapper.properties file. The distributionUrl should point to a valid Gradle version. If you're collaborating with others, ensure this version matches what your teammates are using.
6. The Last Resorts
If nothing else works, try these more involved steps:
-
Delete the .gradle Folder: Close Android Studio. Navigate to your user home directory (on Windows:
C:\Users\[YourUsername]\.gradle; on Mac/Linux:~/.gradle). Delete the entire.gradlefolder. When you restart Android Studio, it will redownload everything. This is a very effective clean slate. -
Re-import the Project: Sometimes the project metadata gets corrupted. Close Android Studio, move or rename the
.ideafolder and all.imlfiles in your project directory. Reopen Android Studio and use File > Open to re-import the project. It will regenerate these files. -
Check for SDK Updates: Open Tools > SDK Manager and ensure your Android SDK Build-Tools, Platform-Tools, and target SDK platforms are installed and up to date.
Final Thoughts
The "Gradle project sync failed" error is a rite of passage for Android developers. While intimidating, it's rarely a dead end. By methodically working through these steps—starting with the simplest cache clears and moving to configuration checks—you can almost always identify and squash the bug.
Remember, the Build output window is your best friend. It often contains the exact line number and description of what went wrong. Learn to read it, and you'll be solving these errors like a pro in no time. Happy coding